Rotted Floor System Found:
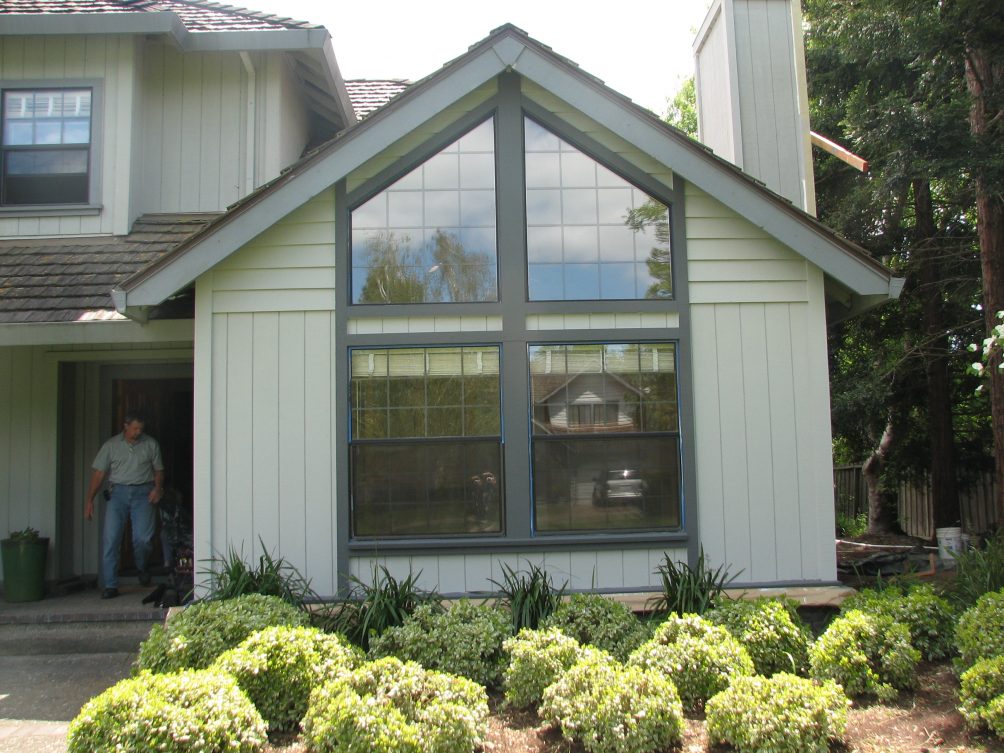
This particular project arrived through my plumbing contractor, and the situation would have been entirely avoidable. The plumber had been called in to replace a sump pump under the floor of the living room. The subsoil area had standing water and needed to be pumped ‘dry’. Then the pest company was to finish their work of repairing and treating to prevent future issues. What the plumber found was that he could not even access the area where the pump was because of several inches of standing water under the home. And, on top of that, the pest company was already over their heads in structural work that they were ill-prepared to do. So, we were called in and discovered a rotted floor system, and the rot had crept into the adjacent room’s floor system and into the adjacent exterior walls as well.
Assessment:
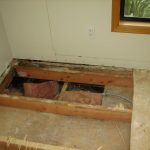
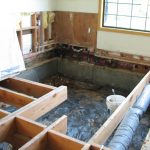
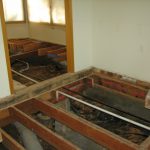
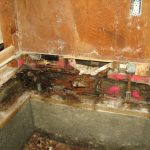
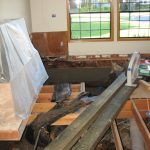
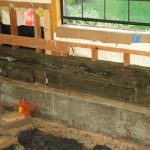
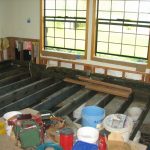
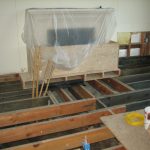
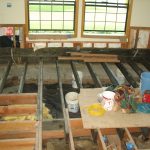
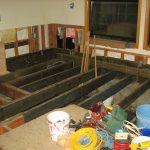
So, here’s the process we went through: after the room was emptied out of furniture, carpeting and some of the built-in cabinets, we built a barrier around the fireplace. Next we opened the rotted floor system, then the lower floor system below that (from the previously sunken living room; that system should have been either removed or opened up for ventilation by the last contractor just 10 years earlier during a huge remodel and addition project to the home). Next we started to remove the damaged framing structure of the lower floor system. We still had to determine the extent of damage so we followed it into an adjacent dining room, and up into the walls of the living room. The damage turned out to be pretty extensive. The owners were very understanding of the need to remove all damaged materials and start fresh.
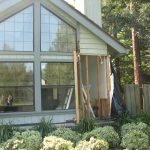
Complications included: 1-the original sunken living room floor system also had a sunken subsoil area in the crawl space to maintain the required clearance under the floor framing members (that meant the area under the living room became a pool of water throughout the rainy season, causing a lot of damage from moisture/vapor rising up and carried into the framing and sheathing of the walls and floors of the home); 2-the exterior front wall of the living room had a brick facade that would be best to leave intact (requiring repairs be done from the interior side of this wall); 3-the fireplace’s sandstone hearth and mantel is more delicate than many other materials used and was actually built on top of both of the floor systems; 4-the soil the home is built on is a highly expansive clay.
Remedy:
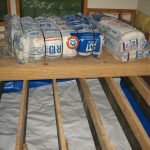
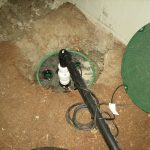
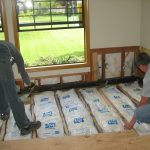
First we removed all of damaged materials, and supported the perimeter exterior walls of the home while we replaced the lower framing with new pressure-treated Douglas Fir members. We dug a perimeter trench under the living room’s floor area and laid in a perforated drain that terminated into a sump at the exterior of the home’s foundation where the water could be pumped out and away. We found other repairs that needed to be done within the walls that were affected by moisture. Once that was done we insulated the floor and sheathed it. Then we closed up the walls, textured, and installed miscellaneous electrical and plumbing items. Last we installed the built-in cabinets and carpet. (The owners did the painting work.)
Before we closed the floor, the owner hired CleanCrawl to install a fully sealed barrier and sumps/pumps to ensure this would not happen again. This barrier was done underneath the entire home. Then we put the built-ins back in and the carpet. The finished rooms look basically the same as they did before the work, but now the cancerous issues are gone.
More Found Near Completion – from another source:
When we were close to done with the living and dining rooms, the owners discovered mildew behind the refrigerator, so we dug into that next. We had to run new electrical circuits to the large sump pump we installed outside and to the pumps that CleanCrawl installed under the home.
This was a very unfortunate situation for these homeowners as they had not that long prior done an extensive remodel and addition to this home. The previous contractor should have done all of this repair without additional cost to the owners, but did not bother to even keep his appointment with them to look at it.
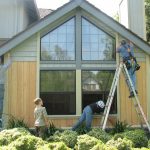
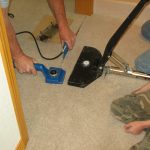
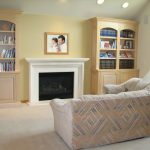
Here are some photos of the work as it progressed, starting with the ‘Before’ and ending with the ‘After’.
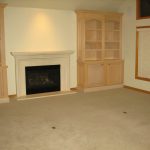
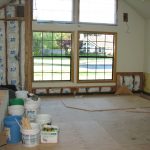
- Living room Before
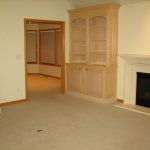
- Living/ Dining Before
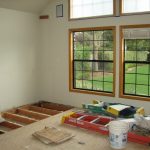
- Starting to open the floor
- Floors stacked; no venting between; rot found throughout both framed floors
- Removing both floor levels
- Rotted floor system continued into adjacent rooms
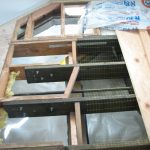
- Rotted floor extended into walls
- Removing rest of rotted floor framing
- Jacked walls to insert new framing
- New PTDF framing
- New PTDF framing
- New PTDF framing
- New PTDF framing
- New CleanCrawl membrane under house
- Added sump and French drains under perimeter of living room
- Insulation installed
- Front wall being rebuilt
- New PTDF framing
- Front wall closed up
- Appaloosa – structural rebuild Drywall installed
- Appaloosa – structural rebuild Detailing exterior wall
- Appaloosa – structural rebuild Carpet installation
- Appaloosa – structural rebuild Completed – looks the same
Stay tuned for more
Remodeling Features!
Originally posted at: https://rdyoungscontractor.wordpress.com/

