
After nearly 50 years, this foundation just had ‘enough.’ The foundation wall was showing serious signs of stress but the owner didn’t know exactly what the problem was, or how it could be repaired. First thing: assess the damage and get the structural engineer involved. After he looked at it, we talked through the options for repair and came up with the following:
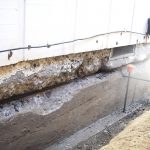
1. dig back the soil from the wall and chip away any bad or loose concrete;
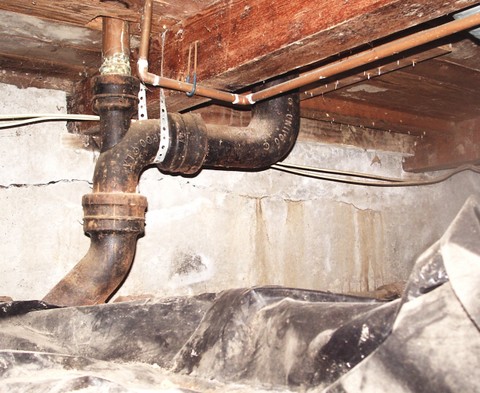
2. sandblast the concrete to clean it up (also done under the home in the crawl space) and better see how much of the reinforcing steel was left intact after years of corrosive action of the rainwater;
3. epoxy in steel reinforcing bars and tie them together;
4. form and pour an exterior covering of fresh concrete;
5. cap the top of the wall with a ‘Z’ flashing that runs up over this new concrete covering and behind the siding of the wall above;
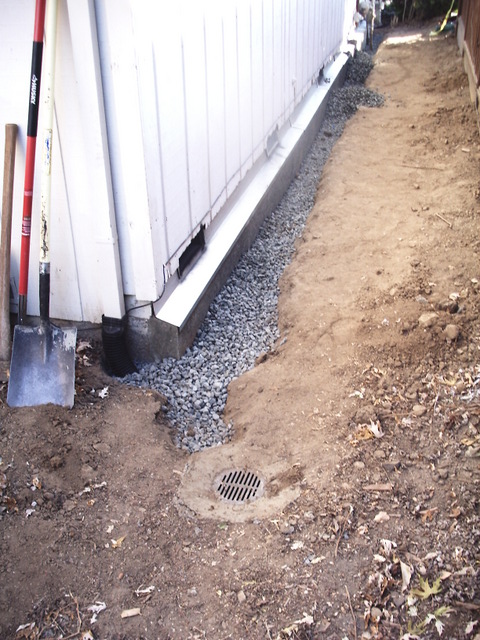
6. install new French drain line, yard drains and redirect the downspouts into this system, and direct that water out to the street in front of the home.
So the work started, and this is what it looked like.
-
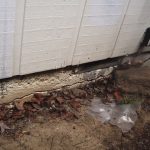
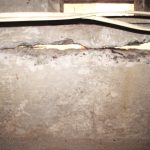
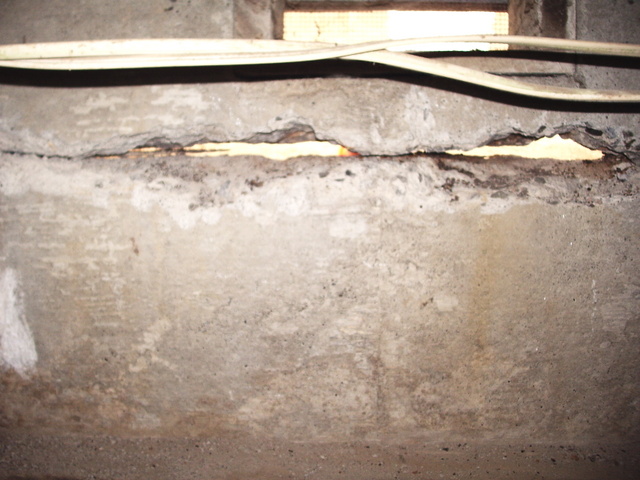
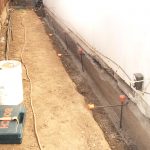
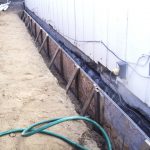
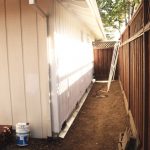
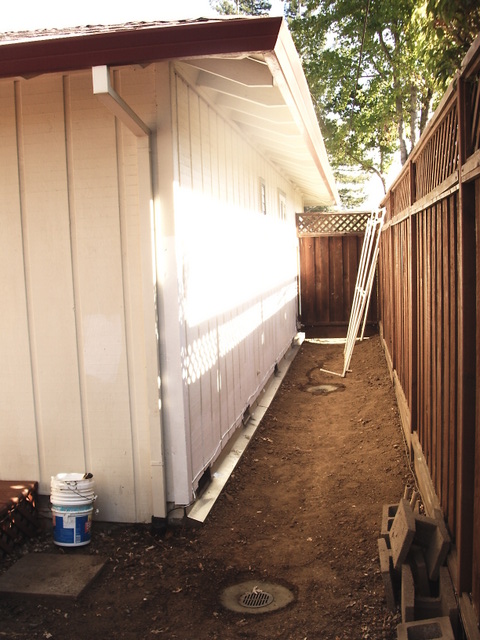
- Before repair

-
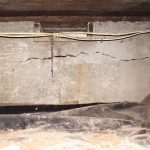
- Before repair

-

- Before repair
-
- Before repair

-
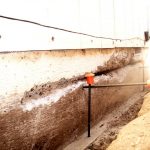
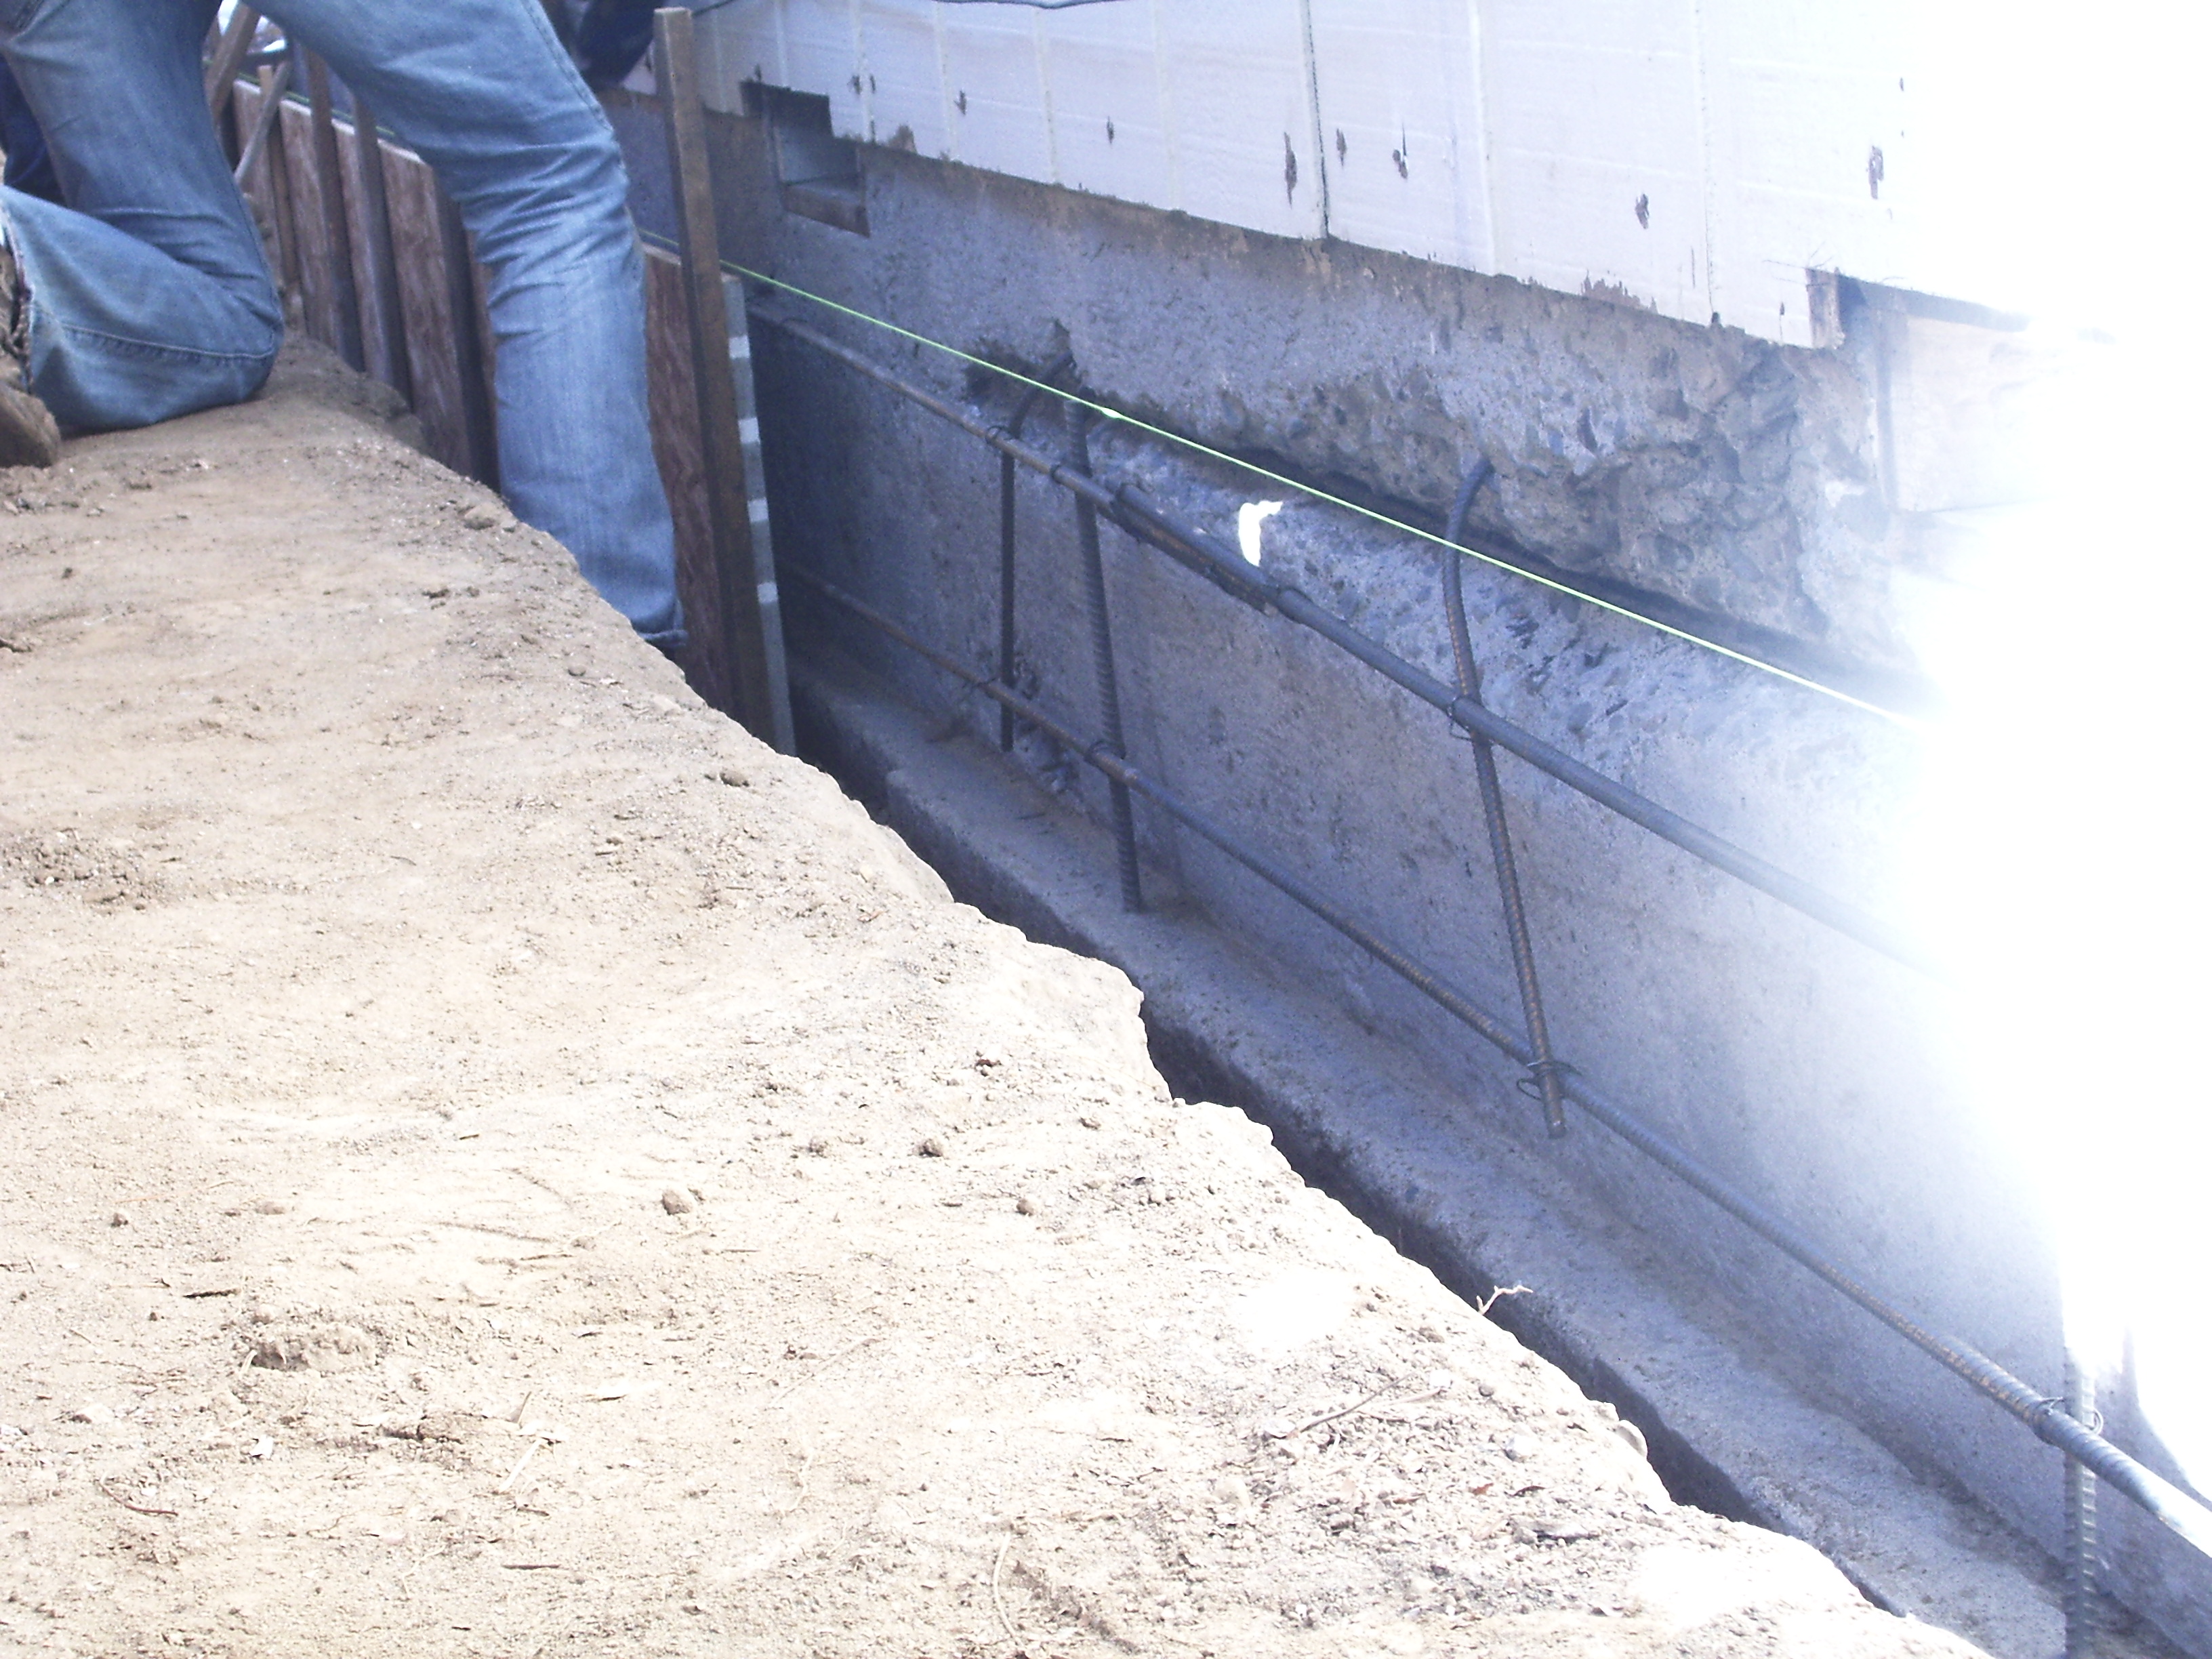
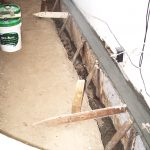
- Sandblasted to clean, remove damaged
-
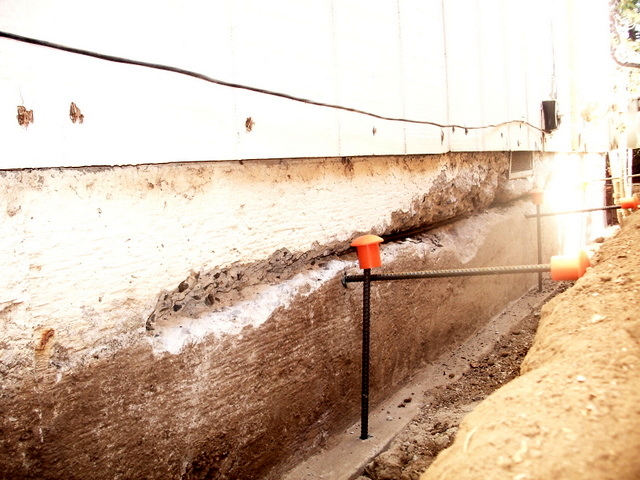
- Sandblasted, new rebar
-
- Sandblasted, new rebar

-
- Connecting with rebar to support existing
-

- Forming new foundation

-
- Rebar/Forms for repair
-
- Foundation rebar
-
- Foundation ready for concrete

-
- Foundation ready for concrete

-
- Concrete poured

-
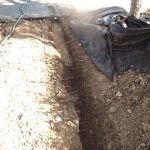
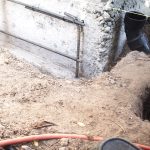
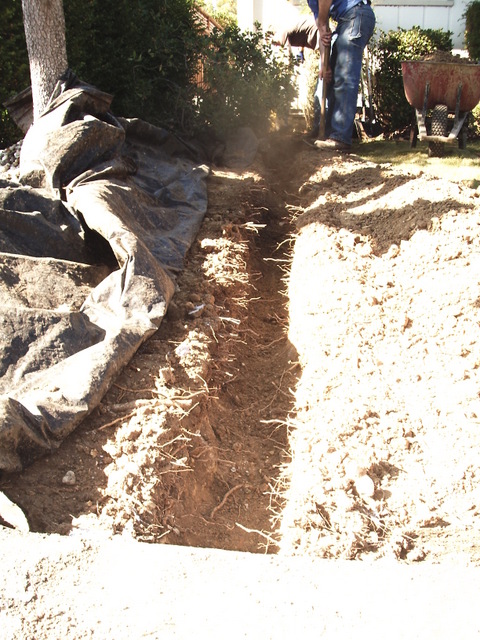
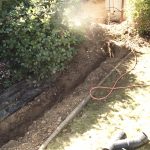
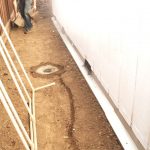
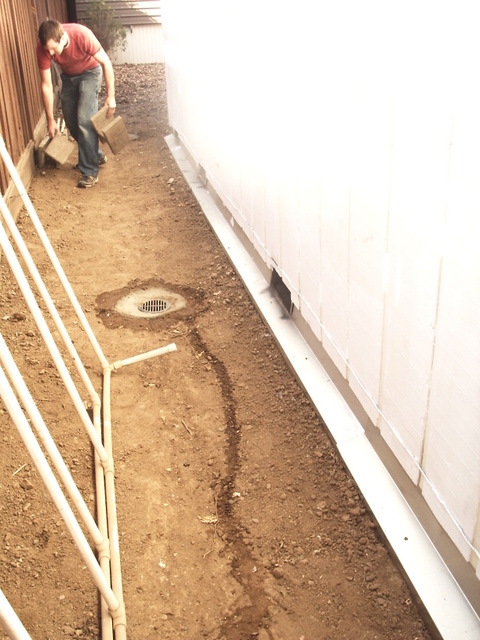
- Trenched for drains

-
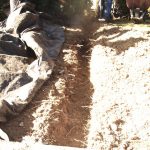
- Trenched for drains
-
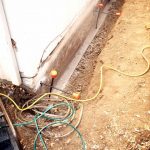
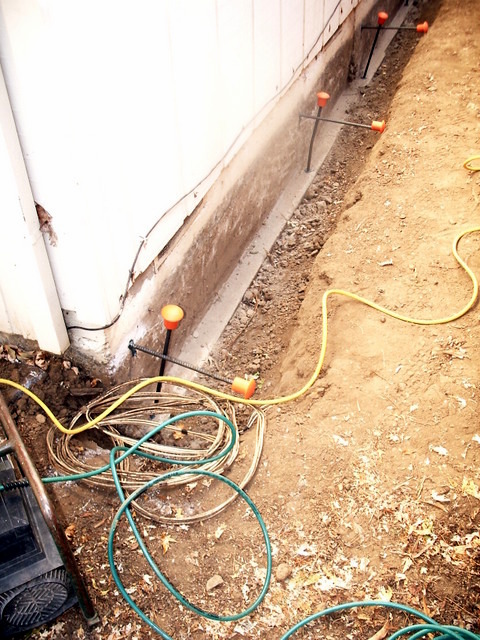
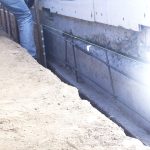
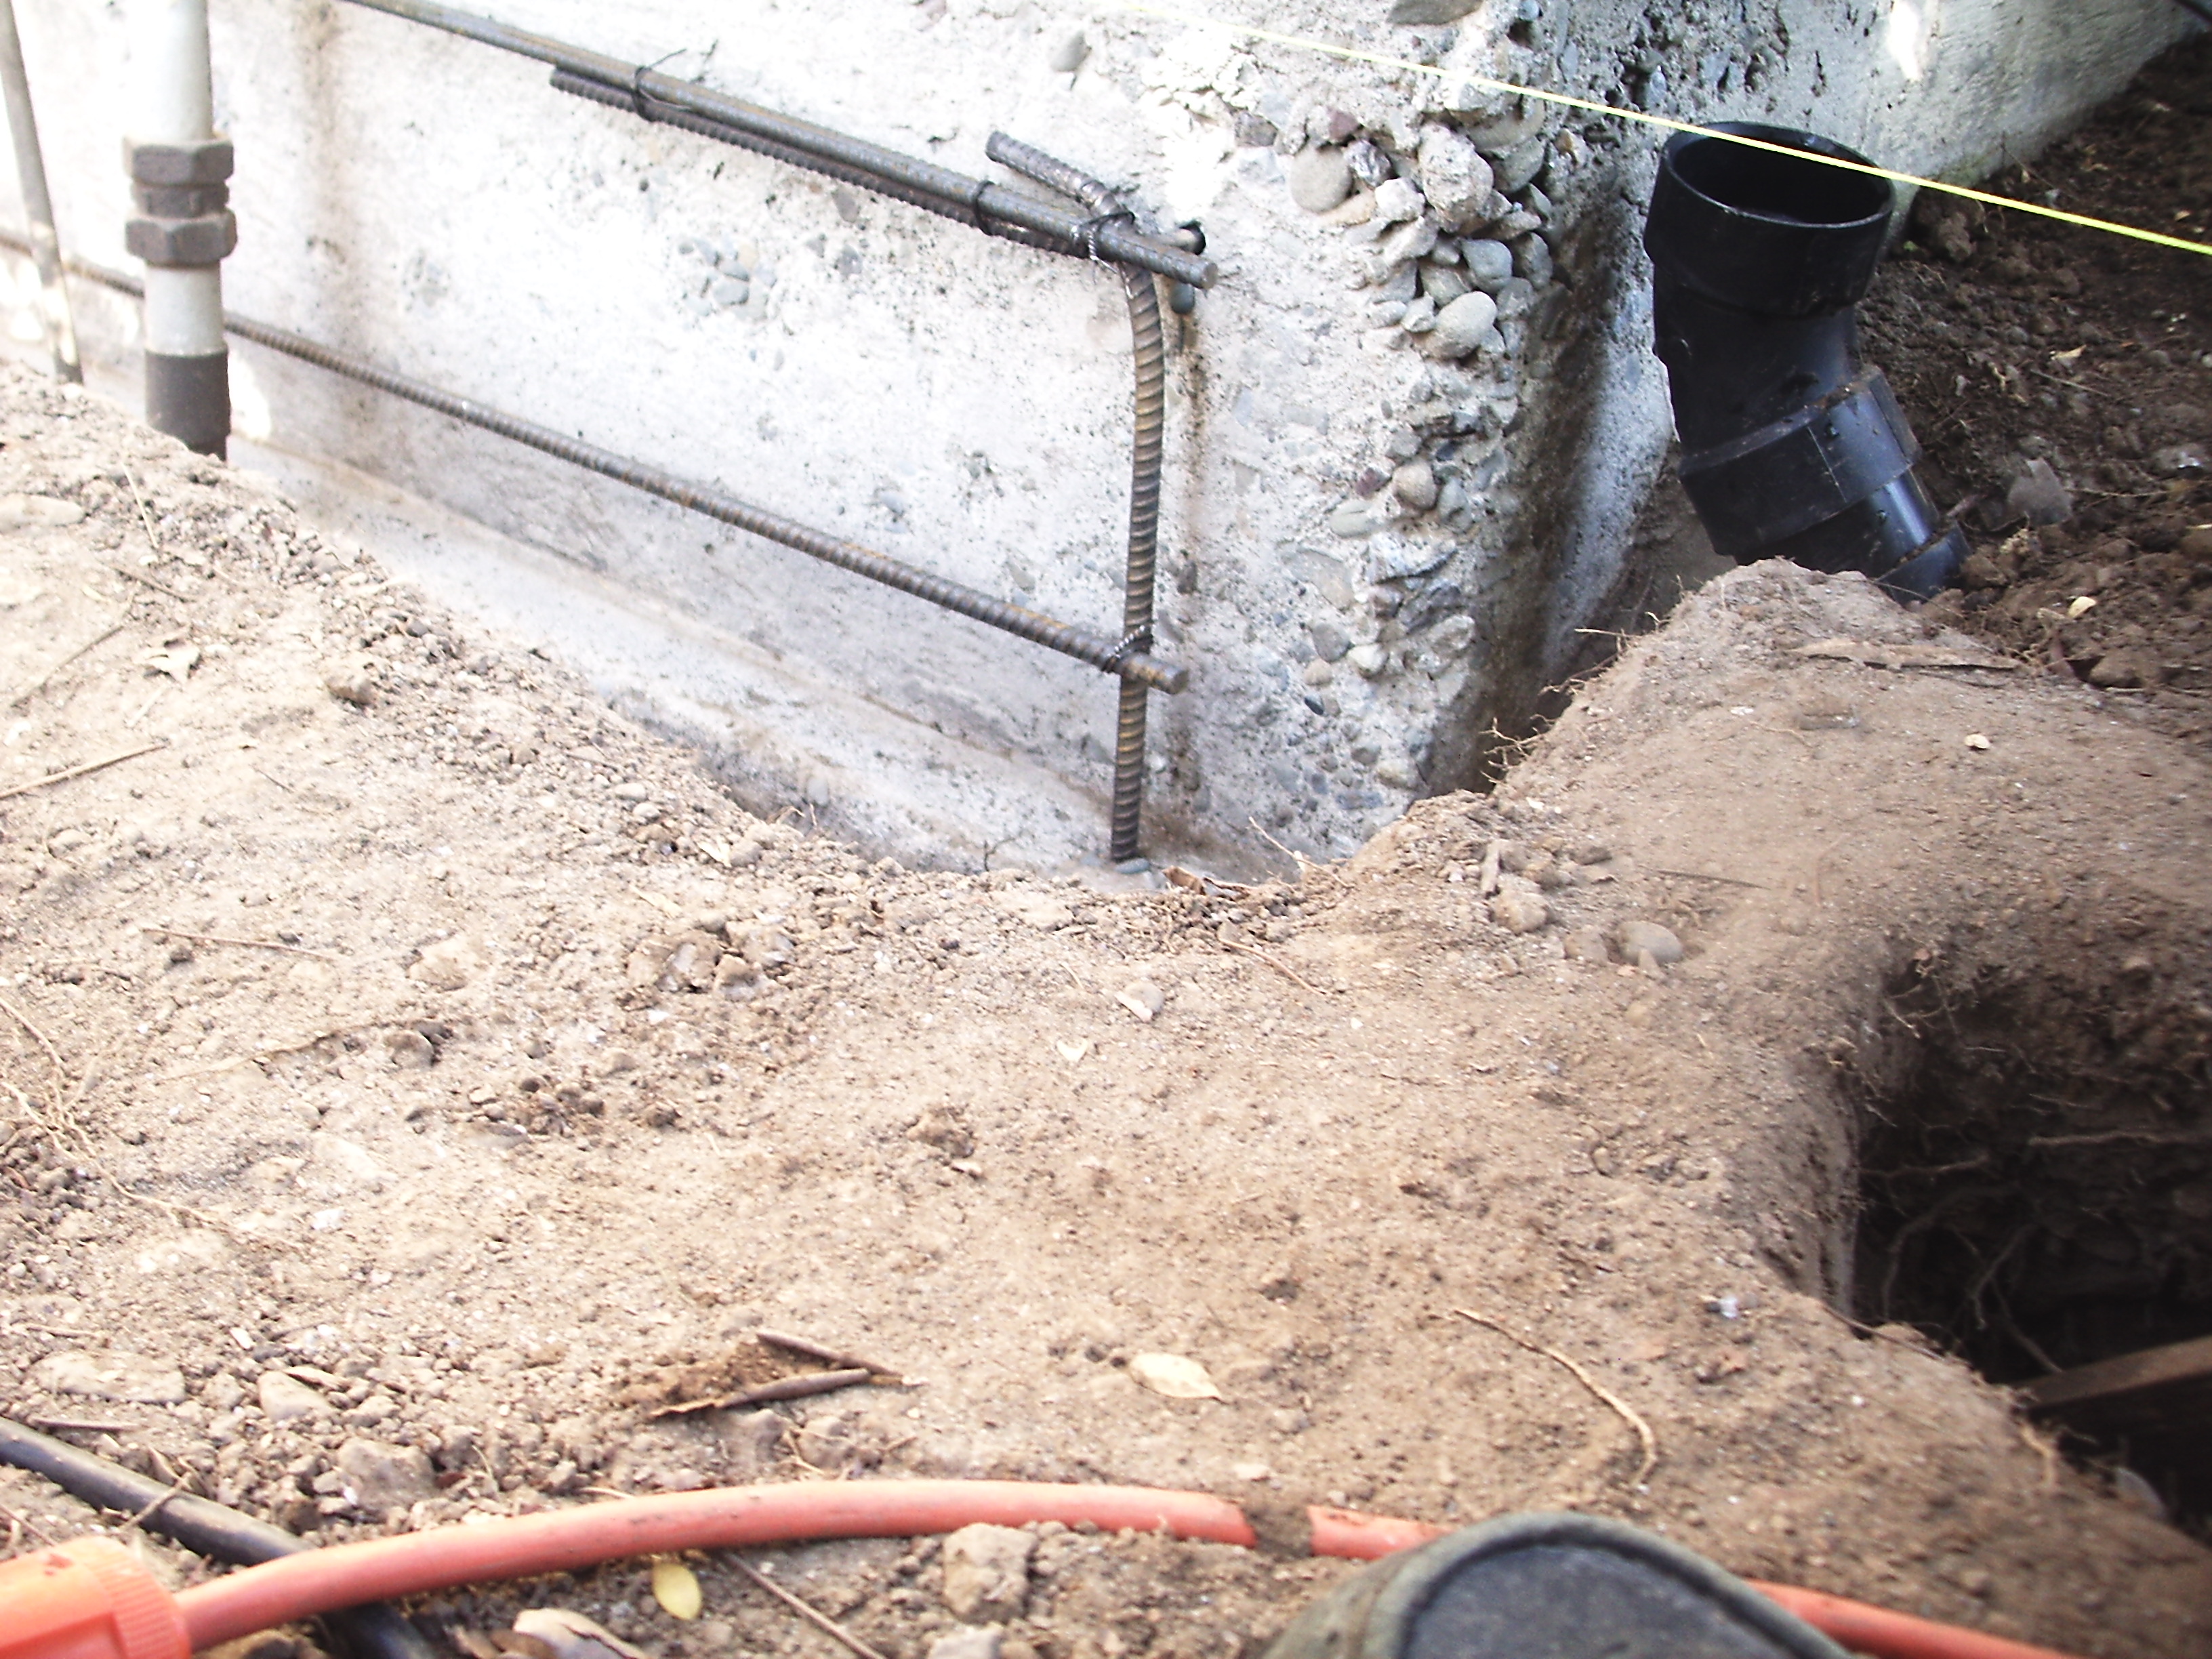
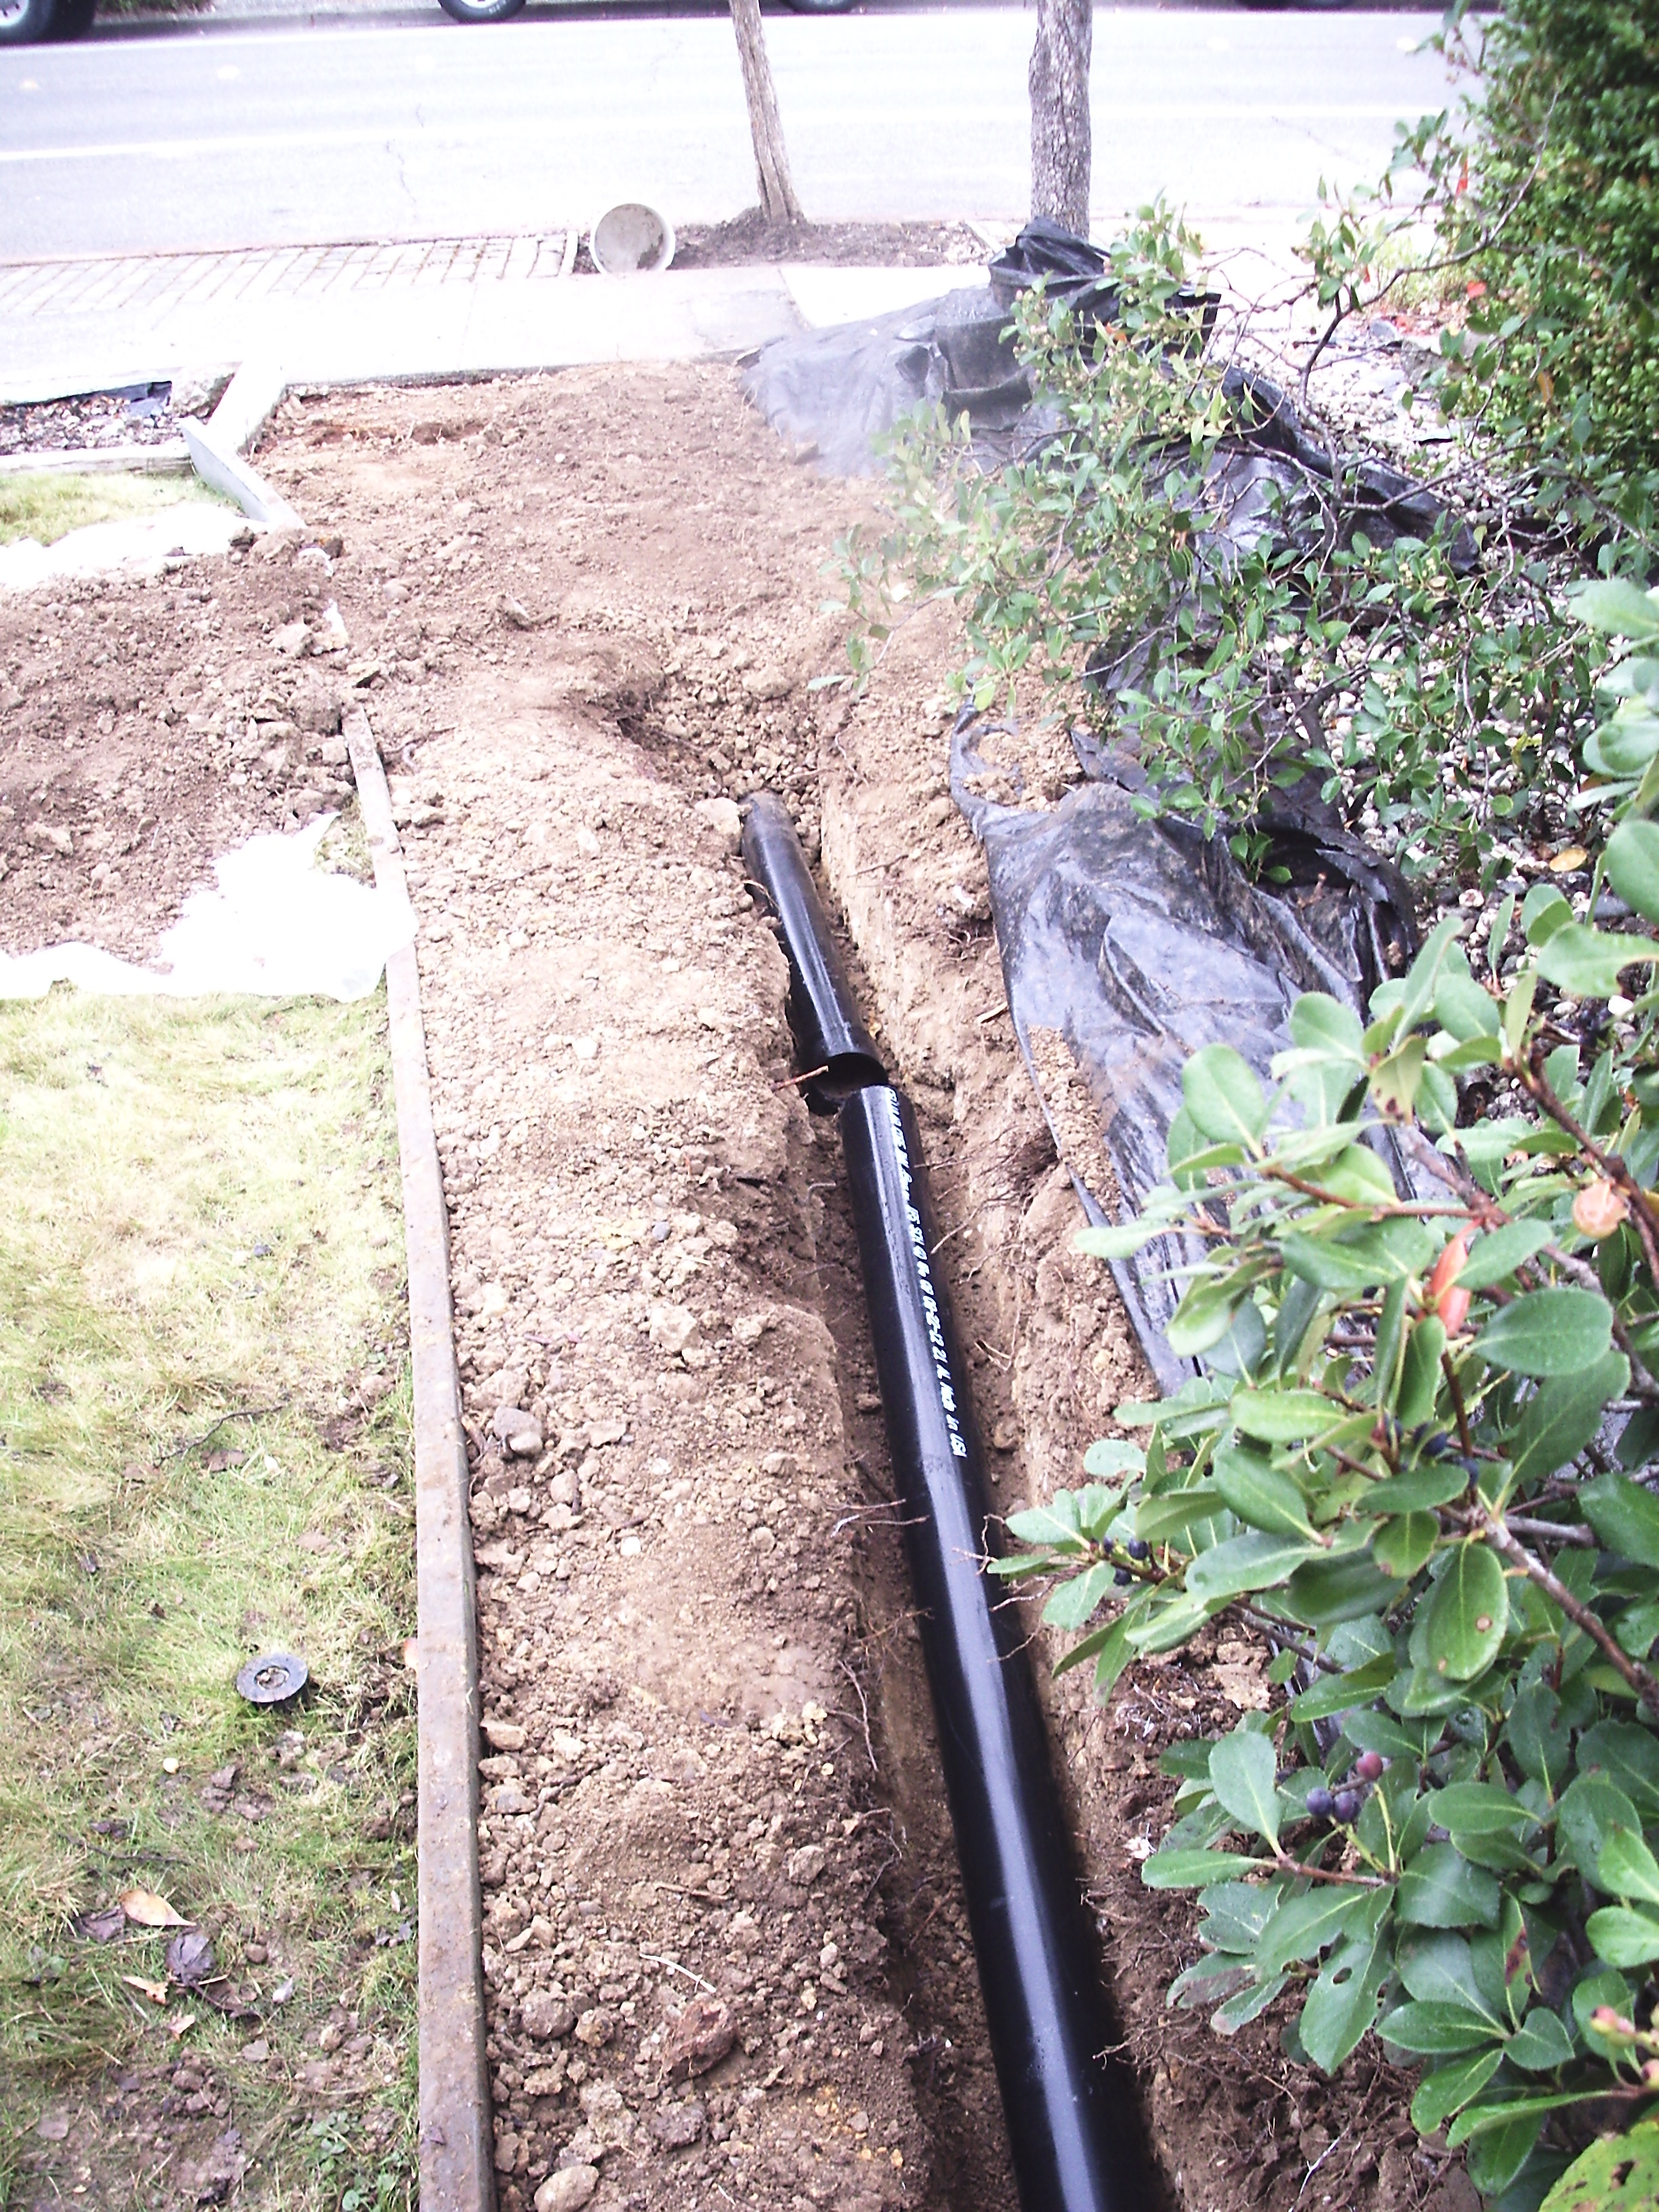
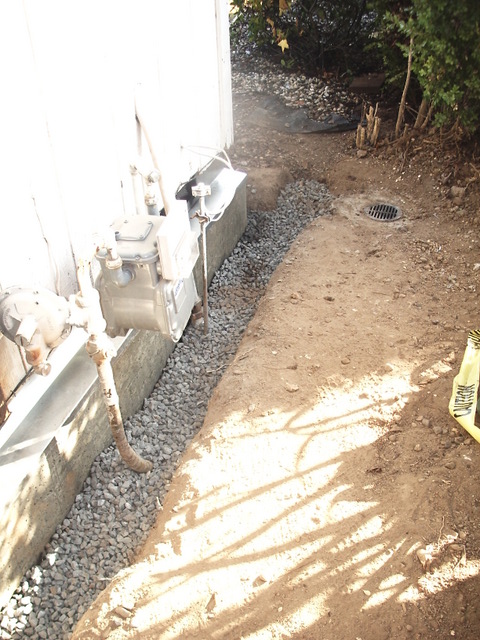
- Drainage directed away

-
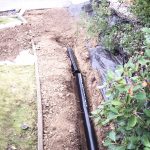
- Drainage directed away
-
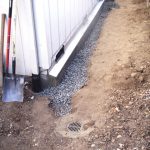
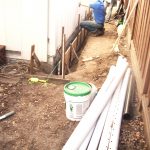
- Drainage lines bedded in gravel
-
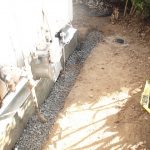
- Drainage lines bedded in gravel
-

- Drainage lines bedded in gravel

-
- Completed & covered, w/ flashing & drains
-
- Completed & covered, w/ flashing & drains
Stay tuned for more
Remodeling Features!
Originally posted at: https://rdyoungscontractor.wordpress.com/